Every trip carries the same quiet assumption: you'll sort out data when you get there. Then you land, walk into a terminal in a country you've never seen, and discover that sorting it out requires the one thing you don't have. The Wi-Fi wants to text you a code. The taxi app won't load. Whoever is meeting you has sent an address you can't open. The first half hour is when connectivity matters most and when travellers plan for it least — so here's how to make it boring.
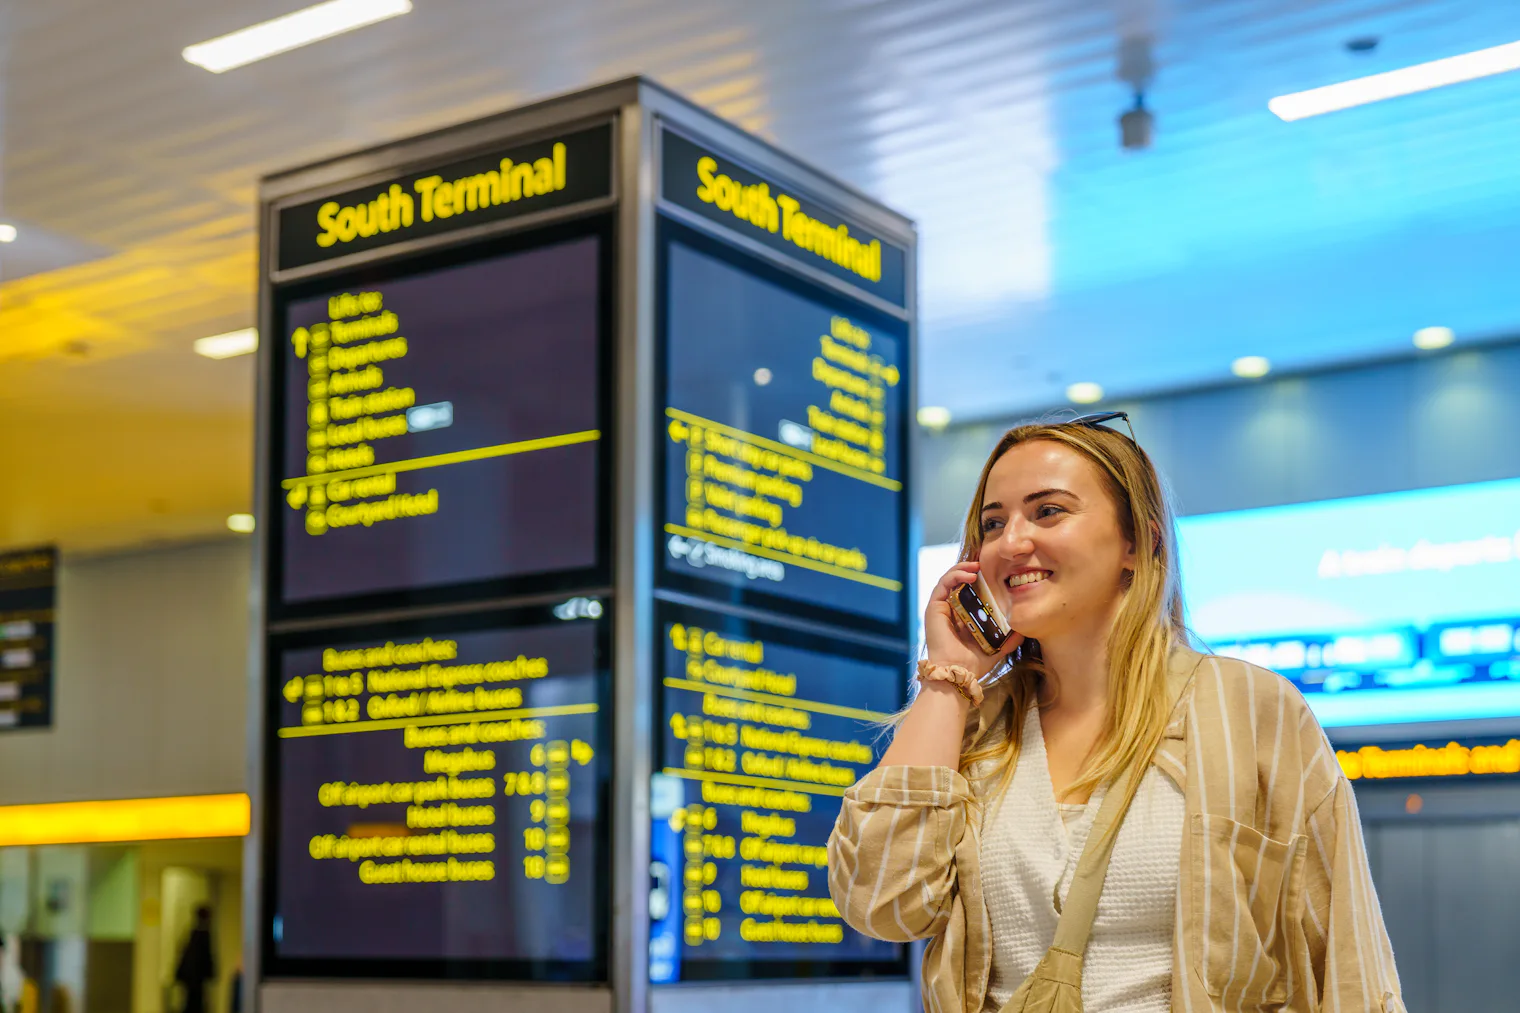
Why airport Wi-Fi fails you at exactly the wrong moment
Free airport Wi-Fi sounds like the answer, and often it isn't:
- The captive portal wants to verify you. Many airports send a code by SMS or email before letting you through. Receiving an SMS abroad depends on your home carrier; opening the confirmation email needs the connection you're trying to get. It's a small, infuriating loop.
- Free tiers are usually time-limited. Thirty or sixty minutes is common, which is fine for a boarding pass and useless for a day of navigation.
- It stops at the terminal doors. The taxi rank, the train platform, the walk to the hotel — none of that is covered, and that's precisely where you need a map.
Airport Wi-Fi is a decent fallback. It's a bad primary plan.
What you actually need in those 30 minutes
Very little data, but you need it immediately:
- a message to whoever is waiting, or to whoever wants to know you landed
- maps and local transport times
- your accommodation address, ideally in the local language
- a ride-hailing app, or the booking confirmation for the one you pre-arranged
- a bank confirmation code if your card gets challenged on the first payment
The problem was never volume. It's timing.
Your options on arrival, compared
| Working when you land? | Where you set it up | |
|---|---|---|
| Airport Wi-Fi | Sometimes — after a portal and a code | At the airport |
| Home-plan roaming | Usually, at whatever your tariff charges | Nothing to do, but check the rate first |
| Local SIM at the airport | After the queue and the paperwork | Arrivals hall, if the desk is open |
| VamosData eSIM installed before you fly | Yes | At home, on Wi-Fi |
Roaming on your own plan deserves a caveat rather than a blanket answer: within the EU/EEA, EU tariffs generally travel with you under "roam like at home" rules, though fair-use caps apply and details vary by operator. Step outside that zone and per-megabyte rates take over — the scenario we picked apart in avoiding roaming charges in Europe. Check your own tariff before you rely on it.
The airport SIM counter has quieter problems. Late arrivals meet closed shutters. Some countries require passport registration, so it's a form and a queue, not a purchase. You'll be choosing a plan you can't easily read, and you'll have to pull out your home SIM — which is where your bank's verification texts arrive.
The version that simply works: arrive already connected
Set it up before you leave, while you're on comfortable home Wi-Fi and nothing is urgent:
- Check your phone supports eSIM with the device checker.
- Pick a plan for where you're going on destinations.
- Install it at home, following the iOS or Android guide.
Installing doesn't spend anything. Most plans begin counting when your VamosData eSIM first connects to a network at your destination, not when you buy or install it — so you can set one up days early and land with it ready. (A few plans instead start at purchase; your plan card and order details say which kind you have.)
The landing routine, in four taps
- Turn off airplane mode — or switch the VamosData line on if you kept it off.
- Set mobile data to the VamosData line.
- Turn data roaming ON for that line — it connects through a local partner network, so it counts as roaming. The plan is prepaid, so this doesn't create charges. Keep your home line's data roaming OFF.
- On iPhone, turn off "Allow Mobile Data Switching", so the phone can't quietly fall back to your home line.
Then send the message. You're done before you reach passport control.
Build the offline backup anyway
Batteries die and phones get dropped, so give yourself one layer that needs no signal at all:
- Download an offline map of the destination city before you fly.
- Screenshot the essentials: your accommodation address in the local language and script, the booking reference, and the arrivals-to-hotel route.
- Know one transport option that takes cash or a card, so you're not dependent on an app.
- Carry a charged power bank. Navigation, mobile boarding passes and a hunt for the right exit drain a phone quickly.
The 30-minute checklist
- VamosData eSIM installed and labelled before departure (iOS / Android).
- Offline map downloaded, address screenshotted.
- Airplane mode off; data set to the VamosData line, roaming on.
- Home line: data roaming off, calls and texts still arriving.
- Message sent to whoever's waiting.
- Power bank in the day bag, not the checked luggage.
The goal isn't a heroic arrival. It's stepping off the plane, watching the signal bars fill in on their own, and forgetting you ever planned for it.